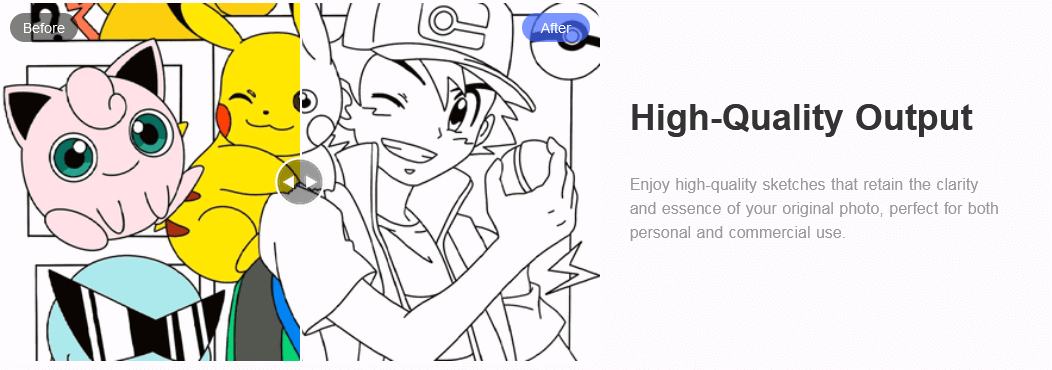
Drawing from a photo is a fun way to challenge your artistic skills. Whether you prefer traditional methods or modern digital techniques, the outcome will be worth your time and effort.
In this opportunity, we will explore two simple ways to draw from a photo: manually drawing and scanning it to save it digitally and drawing directly on a computer using photo editing software.
Both methods offer unique perks. So, let’s see how to use them and which one best suits you.

Method 1: Drawing Manually and Scanning
Drawing manually allows you to feel the paper’s texture and the pencil’s pressure, an experience you won’t have in digital drawing. You can also draw anywhere without the need for a computer or software. Whenever you get inspiration, all you need is paper and pencil.
Here is the step-by-step guide to drawing manually from a photo and then digitizing it.
Step 1: Pick Your Photo
Choose the best photo you’d like to draw. Make sure the image has clear details to ease your drawing process. Well, it is your personal choice. You have the freedom to choose it yourself.

Step 2: Prepare Your Stuff
Take your time to prepare your drawing supplies. Here are what you need:
- Drawing paper
- Pencils in various grades for detailing and shading
- Eraser
- Ruler for lines
Step 3: Start Sketching
It starts with lightly sketching the base form or shape and outlines of the photo. In this first phase, you won’t need to worry about the details; your focus is on managing the proportions well. We suggest you use a 2H pencil so that you can easily erase any mistakes.

Step 4: Add Details and Shading
After reviewing the basic outline, start adding the details. For the main lines and shading, you could use a darker pencil, like HB or 2B. You can also play around with your eraser to produce highlights and softer edges as needed for light and shadow.
Step 5: Review and Finalize
Review your drawing. Make final adjustments to make your drawing look as close to the photo as possible.
Step 6: Scan the drawing
If you want to digitize your art, you must scan it. Use your scanner or printer to scan it, or rent a scanner with higher performance for better results. Make sure you save the image as a high-resolution file. We recommend keeping it in PNG or JPEG.

Method 2: Drawing Digitally Using Photo Editing Software
Digital drawing methods offer quick and effective solutions to simplify the drawing process.
In Photoshop, for instance, it is easy to make changes without starting over. You could use layers or the undo functions to fix things. You can also share and print your final artwork without scanning it first.
Here is the step-by-step tutorial for it.
Step 1: Choose Your Software
The first and foremost software for drawing from a photo is Adobe Photoshop. But you can always go to free options like GIMP or Krita.
Step 2: Open Your Photo
Import the photo into the software. Most photo editing apps allow you to drag and drop the image into the workspace.
Step 3: Create a New Layer
Add a new layer on top of your photo image. Here is where you will draw.
Step 4: Start Sketching
Select the brush tool that is most convenient for you. Then, begin sketching the outlines on your new layer. It is a great idea to start with light and thin lines to get the proportions and base form right. Adjust the opacity of the photo layer to make your sketching much easier.

Step 5: Add Details and Shading
When you start adding details and shading, pick a brush for detailing. Adjust your brush size and opacity to create depth and texture. If you’ve used your photo editing software for years, you will know what features to use.
Step 6: Finalize Your Drawing
Add the final touches like color, highlights, and textures. You could also use multiple layers to keep things more organized. With the help of layers, you can edit specific parts with good focus and attention.
Step 7: Save and Export
Save your work in native software format to preserve your project file. Then, export the final image in high-resolution PNG or JPEG format. Then, you can share or print it.
Wrapping up
When drawing, the tactile feel of a pencil is different in many ways from that of a stylus pen. If you are between the references, the choice will depend on your preferences for a photo. But we personally suggest you try them both since these methods can be such a fun experience. Good luck with your drawing!
