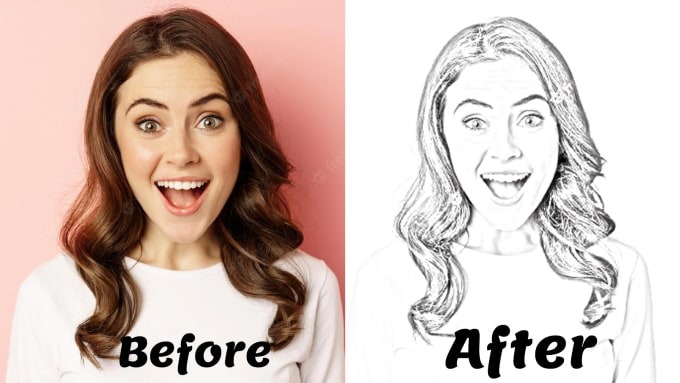
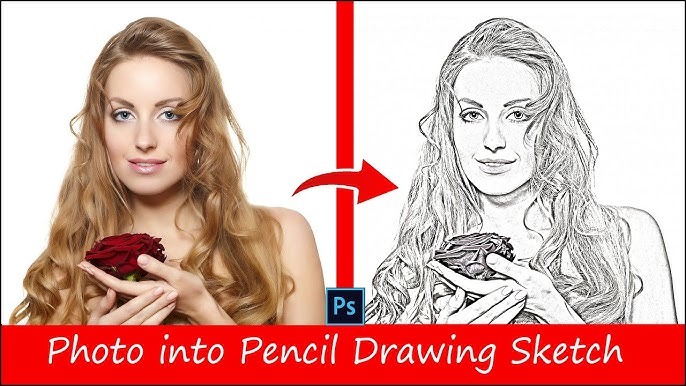
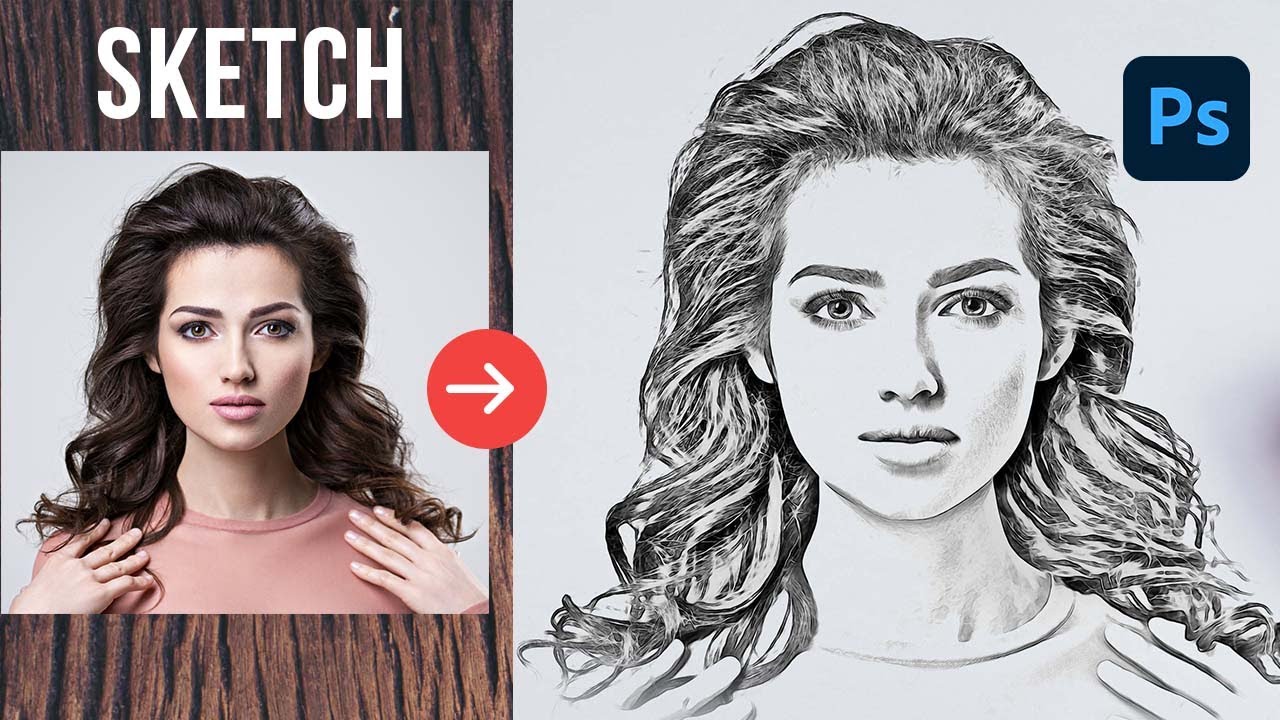
How to Change Image Settings Before Uploading for Better Sketches and Advice to Make Your Sketches Look More Realistic
Controlling picture parameters is essential when you want to free convert photo to sketch and produce art that pops. Before uploading, changing picture settings will help your sketches to be clear, lifelike. On your phone, you came upon an image you wish to sketch? Perhaps all you need to highlight secret elements is a few adjustments.
Look first at the brightness and contrast of your picture. Experiment with these settings until you clearly outline. For drawing, this stage will help you capture shadows and highlights of importance. Many casual artists forego this preparation, which could produce hazy results. The easiest approach is to change the sliders in an editing tool until the outcome makes you satisfied.
Aligning Your Exposure Levels
Often a sketch’s success depends on exposure settings. Many photo editing applications let you change midtones, shadows, and highlights. Little contrast enhancement will give your drawing paper more dimension. It gives light regions and darker parts more weight, therefore producing a polished draft ready for change. Little changes will transform a flat picture into a layered masterwork.
Many programs provide a “auto-enhance” function for fast changes. Though it’s not for everyone, it provides a starting point for you to modify further. Consider it as seasoning a stew; you need the proper ratios of salt and pepper. Too much of one and your sketch loses equilibrium. The correct exposure settings enable one to get on paper an image that seems alive.
Refining Elements for a Crisper View
One may distinguish an excellent sketch by well defined edges. Apply a sharpening filter before posting your picture. Use caution; avoid overindulging. Without sacrificing your work with noise, a mild sharpen can highlight curves and textures. Make several repeated use of the preview feature. Keep improving until the picture shows fluid line flow resembling hand-drawn strokes.
One useful suggestion is to enlarge to check how the elements line up. Under magnification, smaller elements appearing lost in a full-screen view could show themselves. Little changes give your work professional appeal. Future viewers may find the subtlety in your strokes that gives every drawing life.
Correction of Color and Its Effects
Certain images come packaged with additional color that could take viewers off the pencil effect. Turn the saturation dial to mute several of the surplus colors. This helps the final artwork piece to be more clear and facilitates the drawing of the picture. If needed, try a more neutral tone by working with white balance.
One can find great results with a little color corrections. It functions as a painter wiping his palette before beginning a masterwork. The updated picture then acts as a consistent outline, the canvas for your pencil work.
When your picture is in a fit condition, pay close attention to the minute features. Make little tweaks to prevent excessive saturation. Your sketch seems more natural and balanced in a calibrated color tone. Remember: the intention is to give the manuscript vitality without overpowering it with too many digital effects.
Save Settings into a File Format Appropriate
Usually overlooked, the file type and size also count. Your drawing application can call for a specific style—usually JPEG or PNG. Make that the saved picture still shows changes without degrading. Large files could process more slowly, particularly in cases involving high detail count. Smaller files might not have enough clarity for a good sketch appearance.
Many tools let you save with control for the quality level. If you want those perfect pencil marks to shine, steer clear of too strong compression. A correctly structured file provides your program with a head start, so producing superior final output. Consider it as starting a sketch using quality paper; all counts in the end presentation.
Creating a Custom Workflow
If you usually turn pictures into sketches, find a method fit for your style. Spend some time organizing presets such that every change complements your artistic concept. When adjusting photographs on demand, a preset procedure might function as a shortcut. You discover over time which settings highlight the finer details and which help your sketches to stand out.
Recall that not every image qualifies for a striking sketch. Prepare yourself to test several variants. Sometimes the capacity to shift quickly between settings reveals unexpected effects. One afternoon of experimentation can be significantly more fun than a set schedule. Stir it and allow your imagination guide rather than strictly following a set of directions.
Playing Around with Filter Effects
Filters are cooking spices of sorts. A light dust of a high-pass filter can enhance edges, therefore enhancing the final sketch’s vibes. Conversely, for sketches in the vintage style, a grain filter might inspire nostalgia. Some filters allow graphite’s look on paper to be replicated. Try many possibilities for anything that fits your project.
Applying filters slowly is one trick. Change the power and stop to see the impact. This lets little eccentricities show themselves organically instead of completely off-balance the picture. Combining several effects results in an amazing fusion of ancient and new artistic approaches. It’s not rocket science—just a delightful mix of trial and error, much as grilling the ideal burger.
Using Blurring Techniques to Get Creative
Blurring under control lets one replicate depth. A small blur in the backdrop might mimic a shallow focus effect observed in professional photography. This approach highlights the major subject of your sketches, therefore giving them life. Keeping the subject in focus, gently blur parts by touching on the background using basic mobile editing programs.
This method works very well for stressing minute elements defining a subject. A well applied blur can highlight the sharpness of a hand-drawn contour in medium-sized sections. There is nothing better than a drawing in which every piece is placed with intent. These clever gestures bring your work to life on any digital gallery display.
The Art of Previewing Variations
Always have a moment to preview your changed picture before official upload. Sometimes the screen covers minute variations in tone and texture. A full-screen preview helps one to see whether the image keeps its integrity. Some adjustments could need undoing and then reapplying. Expert artists will tell you that this additional process saves time down road.
