The Craft of the Image to Line Sketch: Why Texture and Line Thickness Count
Many amazing digital artworks and hand-drawn masterpieces are created using the secret sauce image to line sketch techniques offer. Every artist using this technique depends on the enigmatic alchemy of lines. It never is only “draw some lines.” The tuning forks of emotional, narrative, and clarity in a work are the thickness and texture you choose for those lines. Want to set off the drama? You grab the strong, weighty lines. A faint whisper of lightness or nostalgia? You let the paper breathe while you go thin, almost invisible.
Consider how unlike a botanical illustration a comic strip feels. Not only is the topic important. It’s the way lines drift off into the backdrop, cut, or wrap. Either a jagged, broken edge on a tree branch or a thick contour around a cheek—each decision affects the overall mood. The choice of thickness and texture depends on this dialogue between lines and mood. Once turned into a drawing, it can make even the most everyday image sing.
Settle in and become comfortable. We are learning what kinds of photographs are pure gold for a clear, clean sketch conversion and navigating the complexities of line choices. By the time you finish this book, you will perceive a basic doodle in a different perspective.
Tension, Movement, and Intention: Line Thickness
Let’s pull in some science and cheat a bit. To line thickness, our eyes and brains respond in wonderfully complicated ways. Thick lines anchor, highlight, and weigh. Consider the jaw of the comic book hero or a sunset metropolitan skyline. The thickness suggests, “pay attention here.” Thin lines guide you along invisible paths or prod at background detail, flitting and flutter.
Tension and release come from line thickness. Try this yourself: draw two variations of your preferred bloom. For the petals in one rendition, use strong, almost marker-level lines; in the other, change to wispy, hair-thin strokes. The distinctiveness is One takes the stage; the other subtly asks for a closer look.
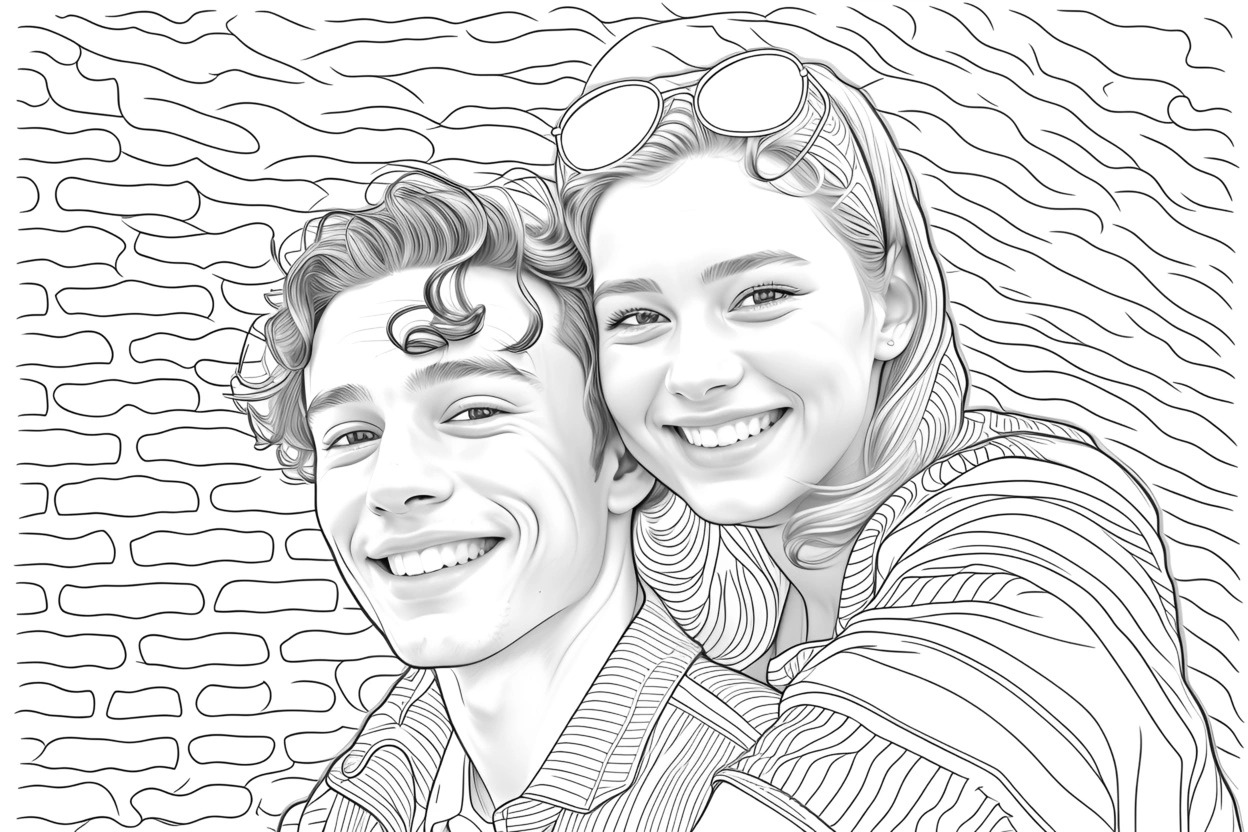
Controlling this is half the secret in digital or artificial intelligence-powered image to line sketch conversions. The correct program, filters, or hand corrections lets you highlight the regions you wish to pop and control what should fade. It can make an ordinary portrait a worthy subject for framing.
The Function of Texture in Drawing: From Gritty Grit to Silky Smooth
Though it gets less attention, texture is absolutely crucial. Imagine yourself trying to replicate the unstable ink of a quill pen or the feel of antique parchment. Whether feathery, stippled, or dashed, texture in lines gives the sketch context and vitality.
Cross-hatching and other techniques can give the shadows of a portrait actual weight, so enveloping the face in mood and memory. On the other hand, ultra-smooth digital lines may be your pass to futuristic architecture representations free from corruption. Both have power. The secret is to match the approach to the desired mood.
Here they cooperate in thickness and texture. Try frequently. Some of the best pieces arise from mistakes—that joyous skip in ink or an unanticipated jag in a digital line. See “imperfections” not as anything to be ashamed of. They could be the exactly what distinguishes your work from clinical, soulless production.
Selecting Appropriate Images for a Clean Sketch Conversion
Let’s pause briefly to discuss pragmatics. Once turned into a clear line sketch, not every picture is a star pupil. Certain people simply shine more than others. Here is something to keep your eyes open for:
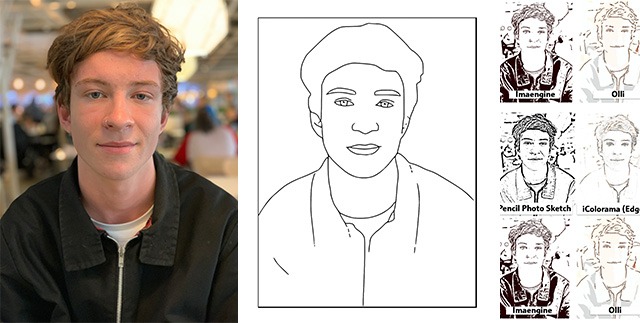
Your friend are high-contrast reference photos. Clear definitions across several components helps line extraction to be easier. Low-contrast lighting or a messy background muddies the procedure. Portraits photographed against blank walls or products snapped atop simple, single-tone tables—these make conversion joyful.
Clear shape and defined contours make images better than ones in which everything blends together. You want clear edges: the rim of a teacup, a sharply-dressed figure, a strong arching form. Starting with a clean base image helps a lot as, despite its great beauty, texture may occasionally produce visual noise if not handled.
Regarding landscapes or environmental pictures, what comes first? Though you should not discount them, remember you might spend more time adjusting settings and honing the sketch. In a foggy forest, trees can become a tangle of useless squiggles. Indeed, that’s the mood, but might not provide the clarity sought for by a “clean” line sketch.
Creative Moods: How Texture and Thickness Affect Emotional Impact
Consider the last emotionally strong drawing you really loved. What kept returning to you? It is quite likely that it was the careful line arrangement. Dramas and seriousness abound in heavy lines. They speak of authority or wrath. Perfect for settings of serenity, innocence, or ephemeral events, thin, almost shaking lines seem fragile.
See the face of a child sketched in soft pencil, delicate as a dream. Imagine now a thick as your finger graffiti painting ripping across concrete with explosive lines. That’s the range.
Another layer is added by texture. A neat pen outline gives control and grace. Jagged, ragged lines suggest either passion or anarchy. Introducing rough, irregular lines can help you to replicate rain against neon light, therefore capturing a moody night in the metropolis.
Often in one piece, artists combine multiple thicknesses and textures. While jewelry or mechanical gears wear strong, bulky contours, hair may be depicted quick and light. This interplay gives the composition movement. The eye moves about the sketch, lingering where the artist intends.
Digital Tools: Tech to Save the Day—Dimensions and Texture!
Many contemporary phone apps and software solutions let you have a wealth of possibilities right at your hands. You are not bound to whatever default they provide. For instance, Procreate and Adobe Illustrator both easily create thick-to-thin pressure sensitivity.
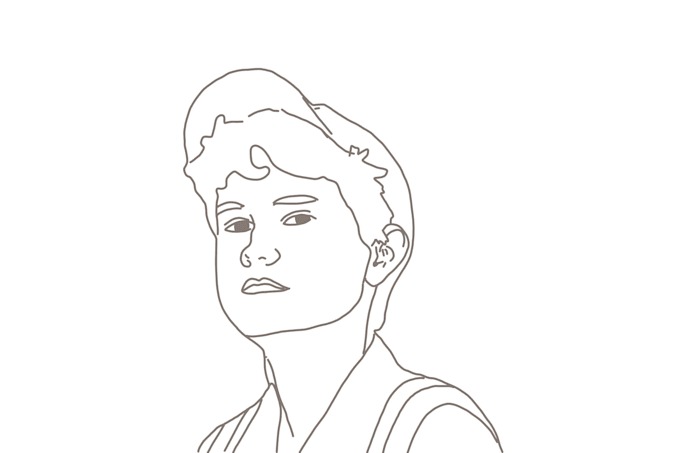
After the initial line extraction, some artificial intelligence-based technologies let you change sliders for thickness and roughness. Don’t just tap “convert” then turn away. Work with those controls. Zoom in, adjust, compare. For particularly intricate faces, you might have to reduce the thickness or increase it to prevent architecture from looking overly fragile.
Try the conversion using both grayscale and color images as input—a odd but useful habit. Although the output is a line drawing, occasionally lines taken from a high-saturation color photo are sharper and more manipulable than those taken from a flat black-and-white source. All of it comes down to the degree of separation between forms and tones.
